Authentication and Authorization in Mach5
Mach5 uses Keycloak to manage authentication and authorization, ensuring secure logins and access control for entities in the system.
Enabling Access Control In Mach5
To enable access control in Mach5, you need to set the oidc.enabled parameter in the values.yaml file. This activates authentication and authorization features, allowing the system to securely verify user identities and manage their access permissions.
The admin user credentials can be customized by setting the keycloak.master.username and keycloak.master.password parameters in the values.yaml file. By default, these values are set to admin/admin.
Setting up new users in Mach5
Follow these steps to log in as the administrator to be able to create new users:
- Navigate to
<MACH5_HOST>:<MACH5_PORT>/keycloakand log in using the admin credentials. By default, you’re logged into the master realm.

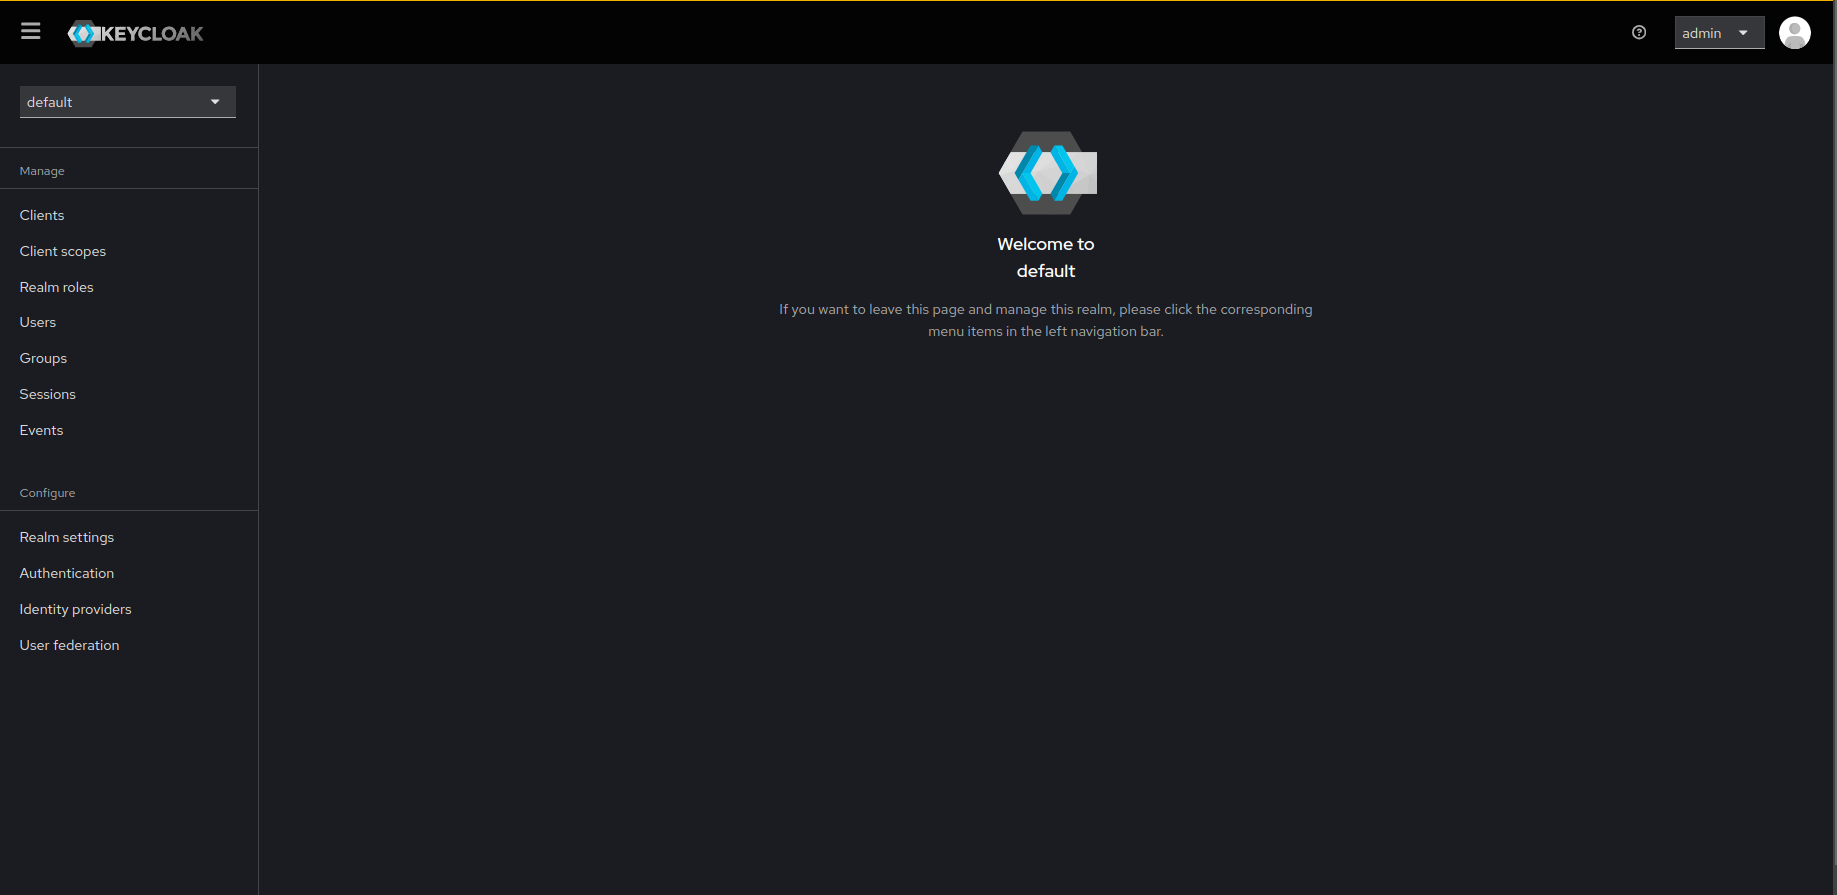
- Change the realm from the top left drop-down menu to default.

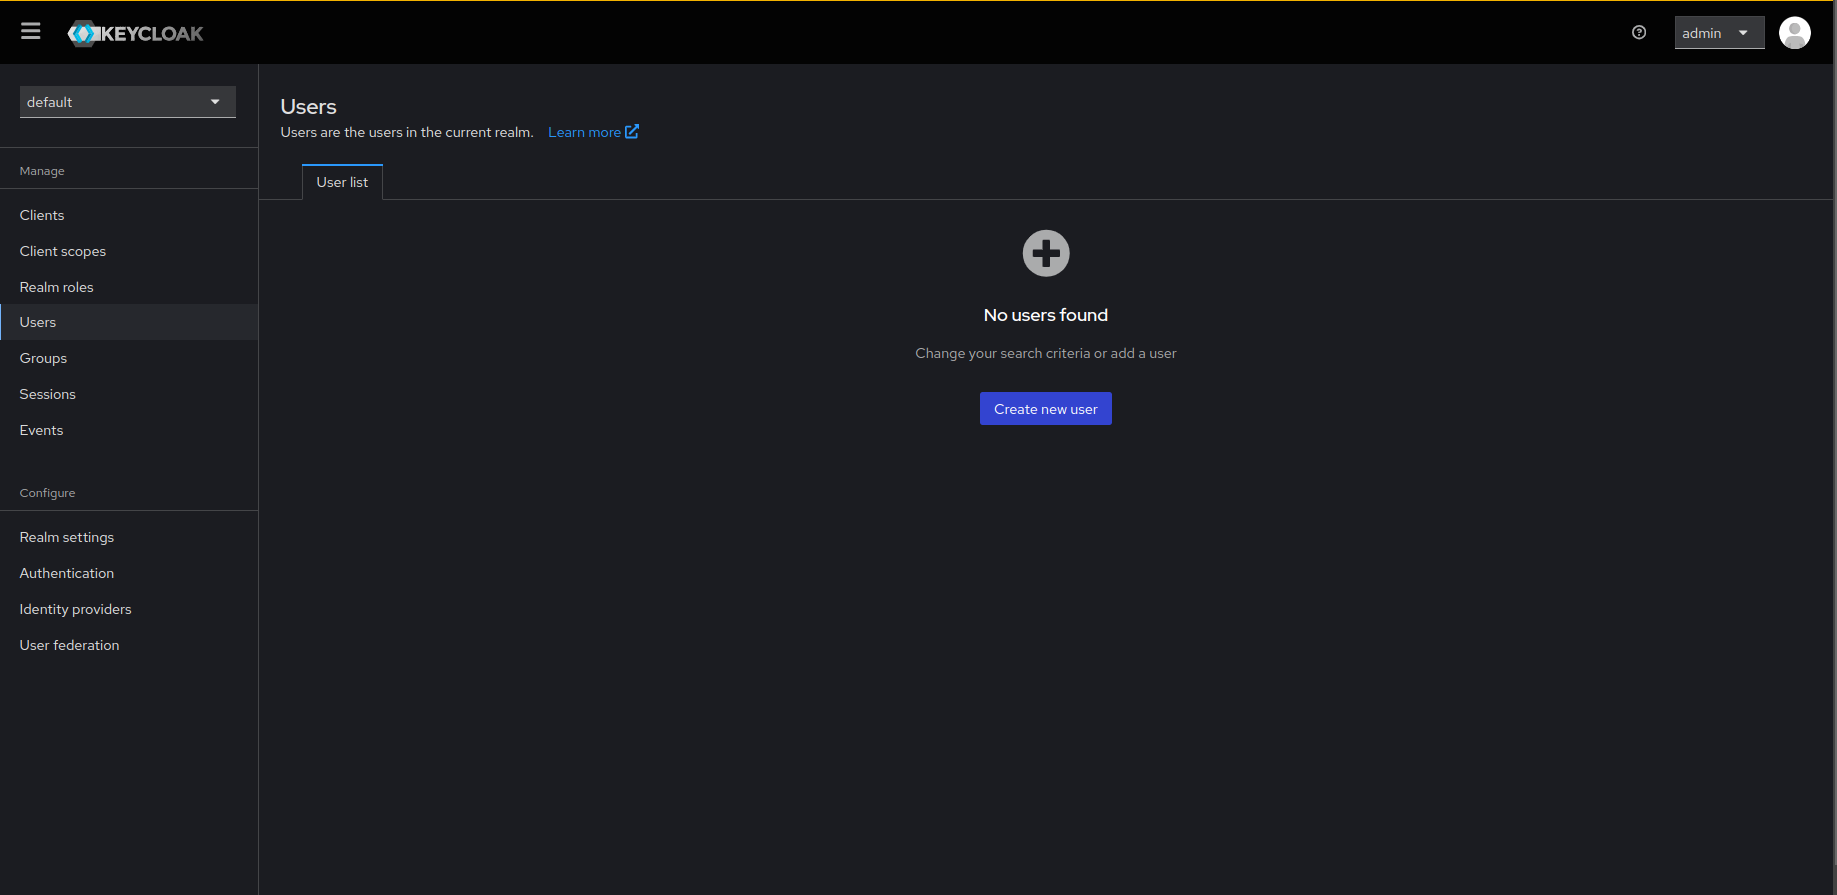
- Once the realm is set to default, click on Users from the left-side menu to create new users.
- Click on Create new user.
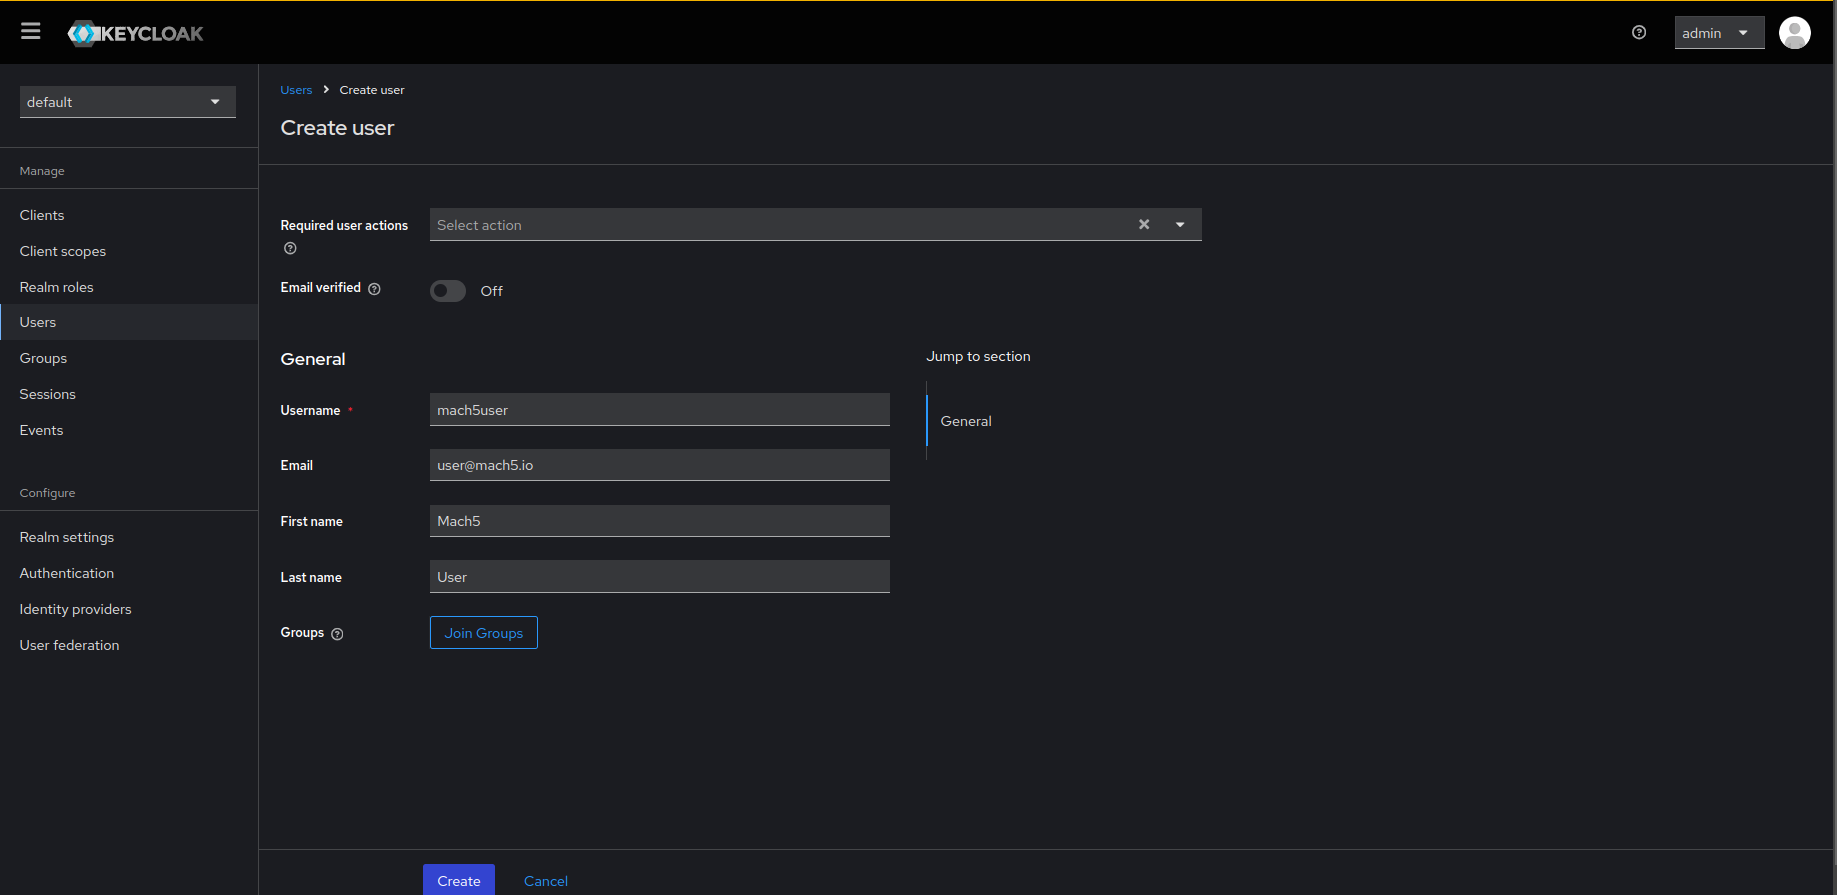
- Fill in the required fields and click on the Create button.
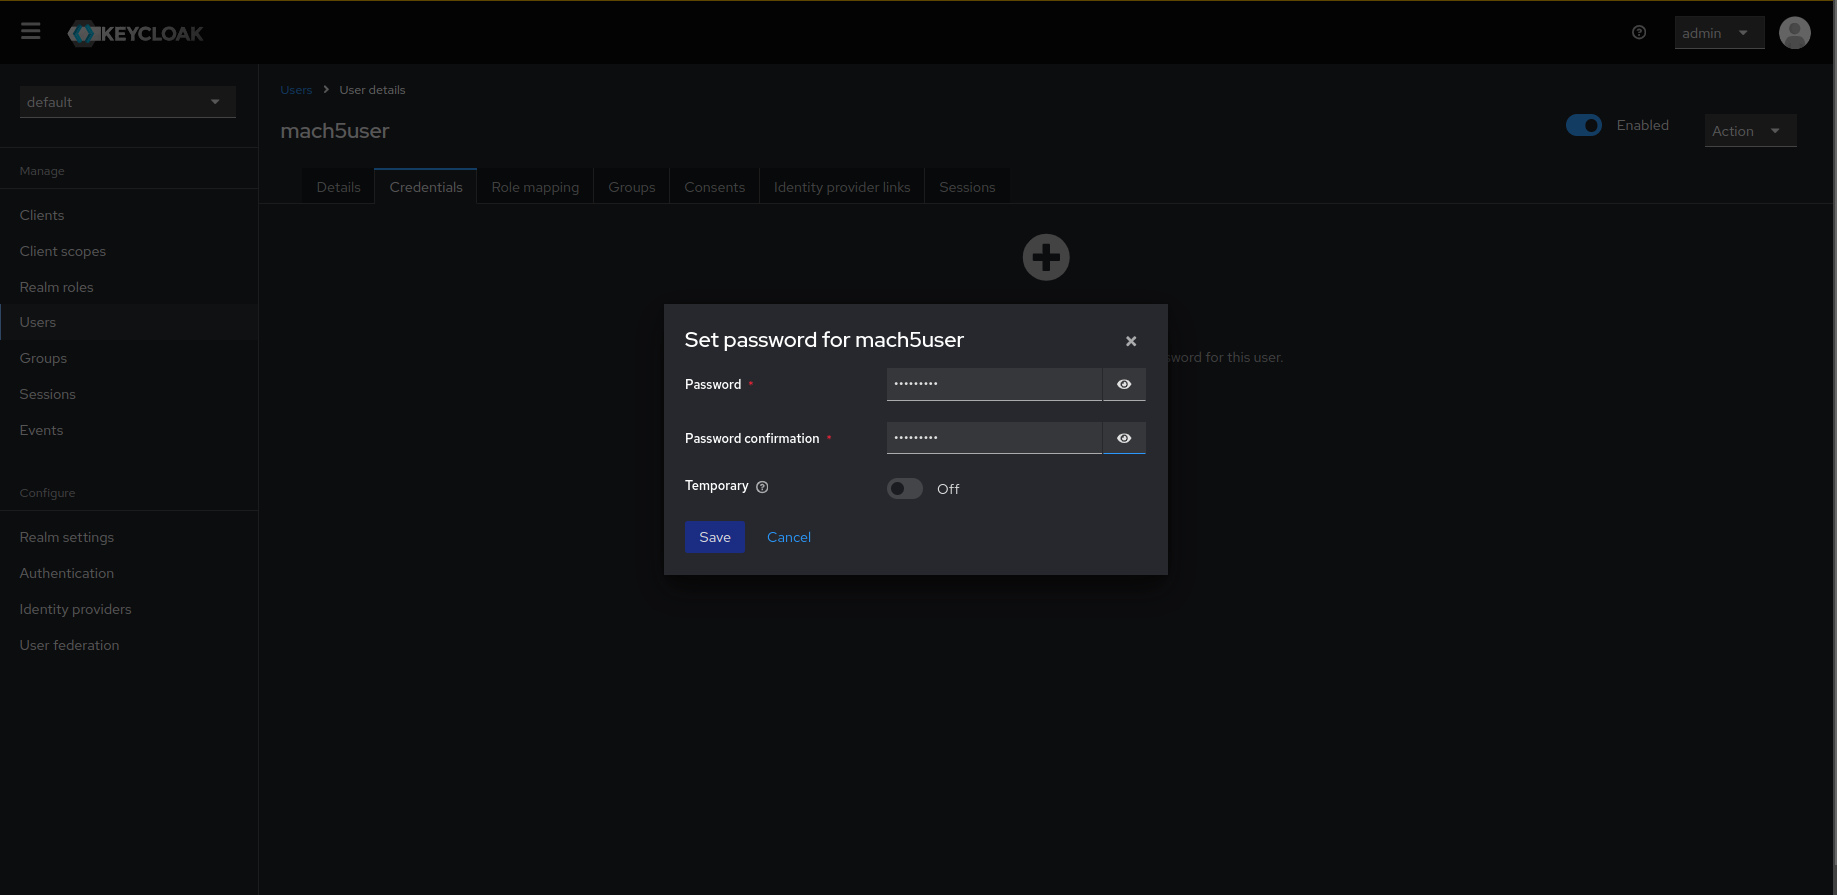
- Once the user is created, navigate to its Credentials tab and click on Set password to assign credentials to the created user.
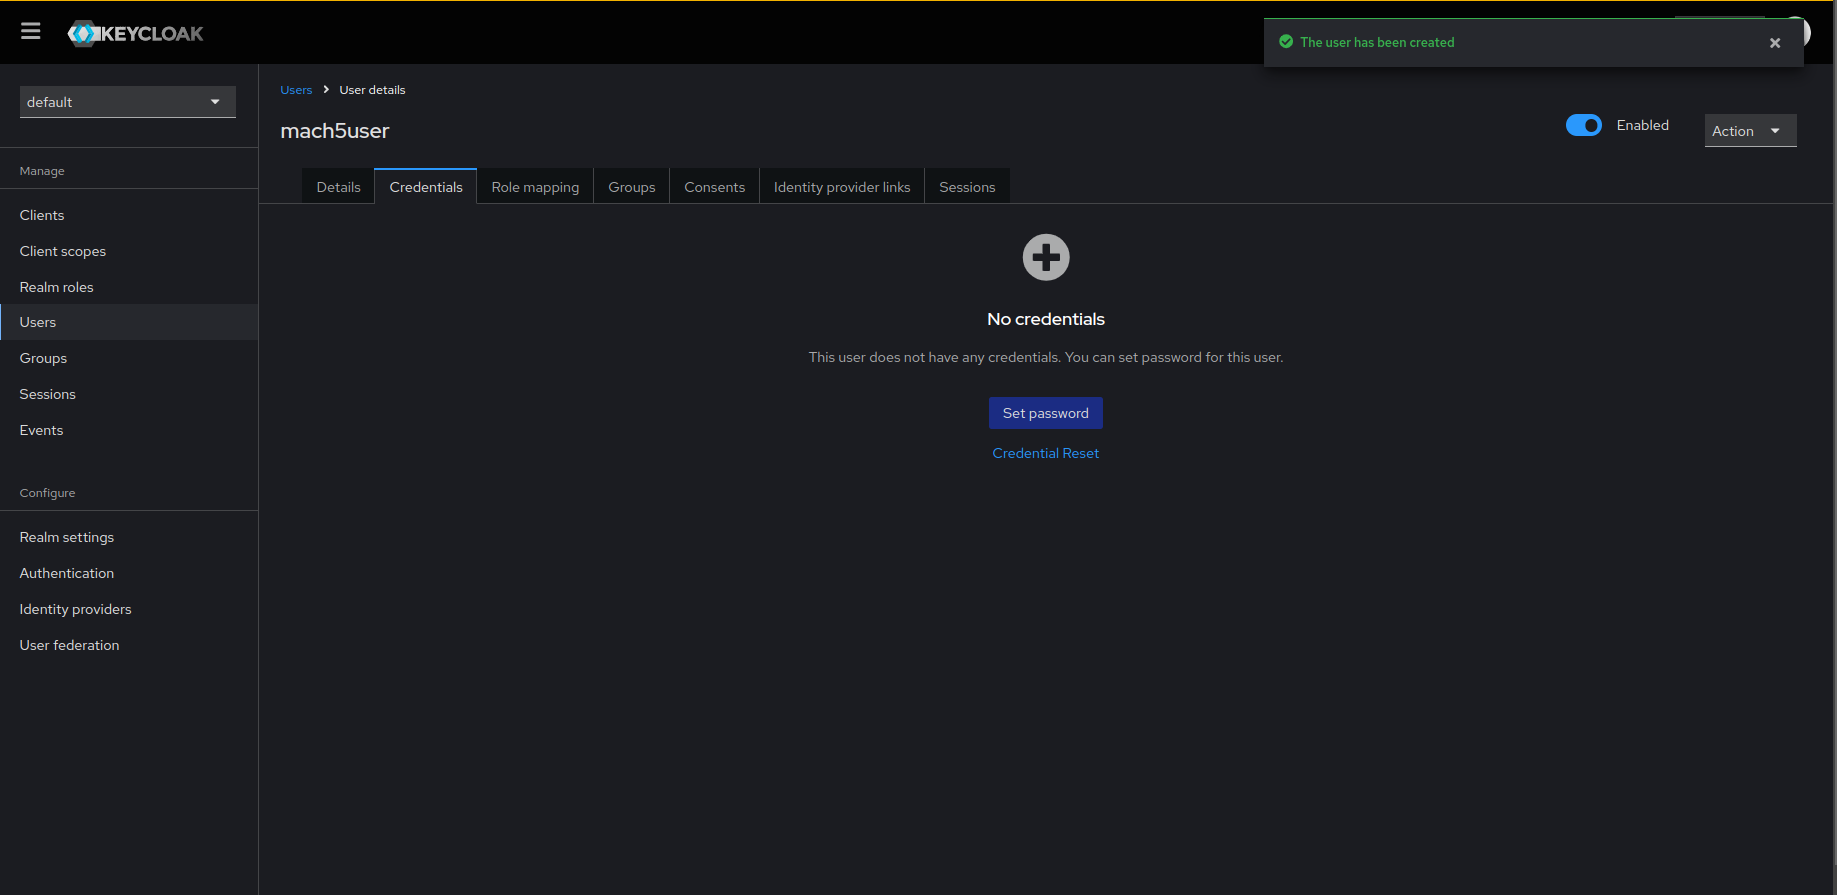
- Set the password for the user. Make sure to turn off the Temporary toggle button for the user. Save the credentials.
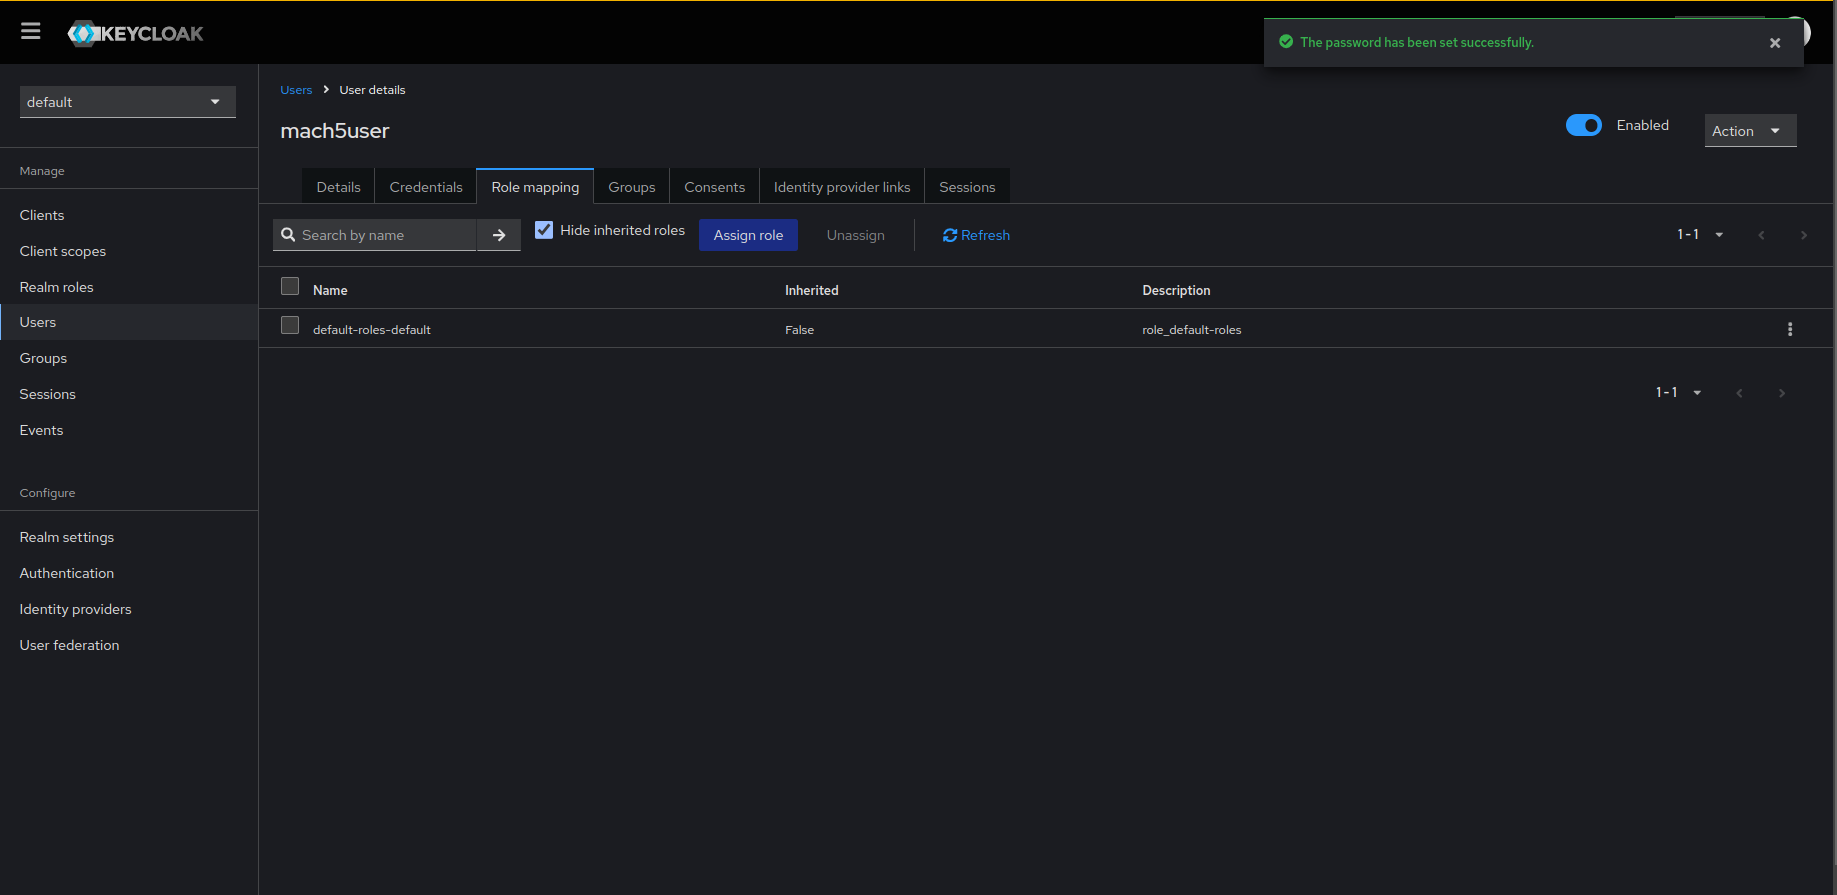
- To assign access permissions to this user, add roles for this user by navigating to the Role mapping tab. Click on Assign role.
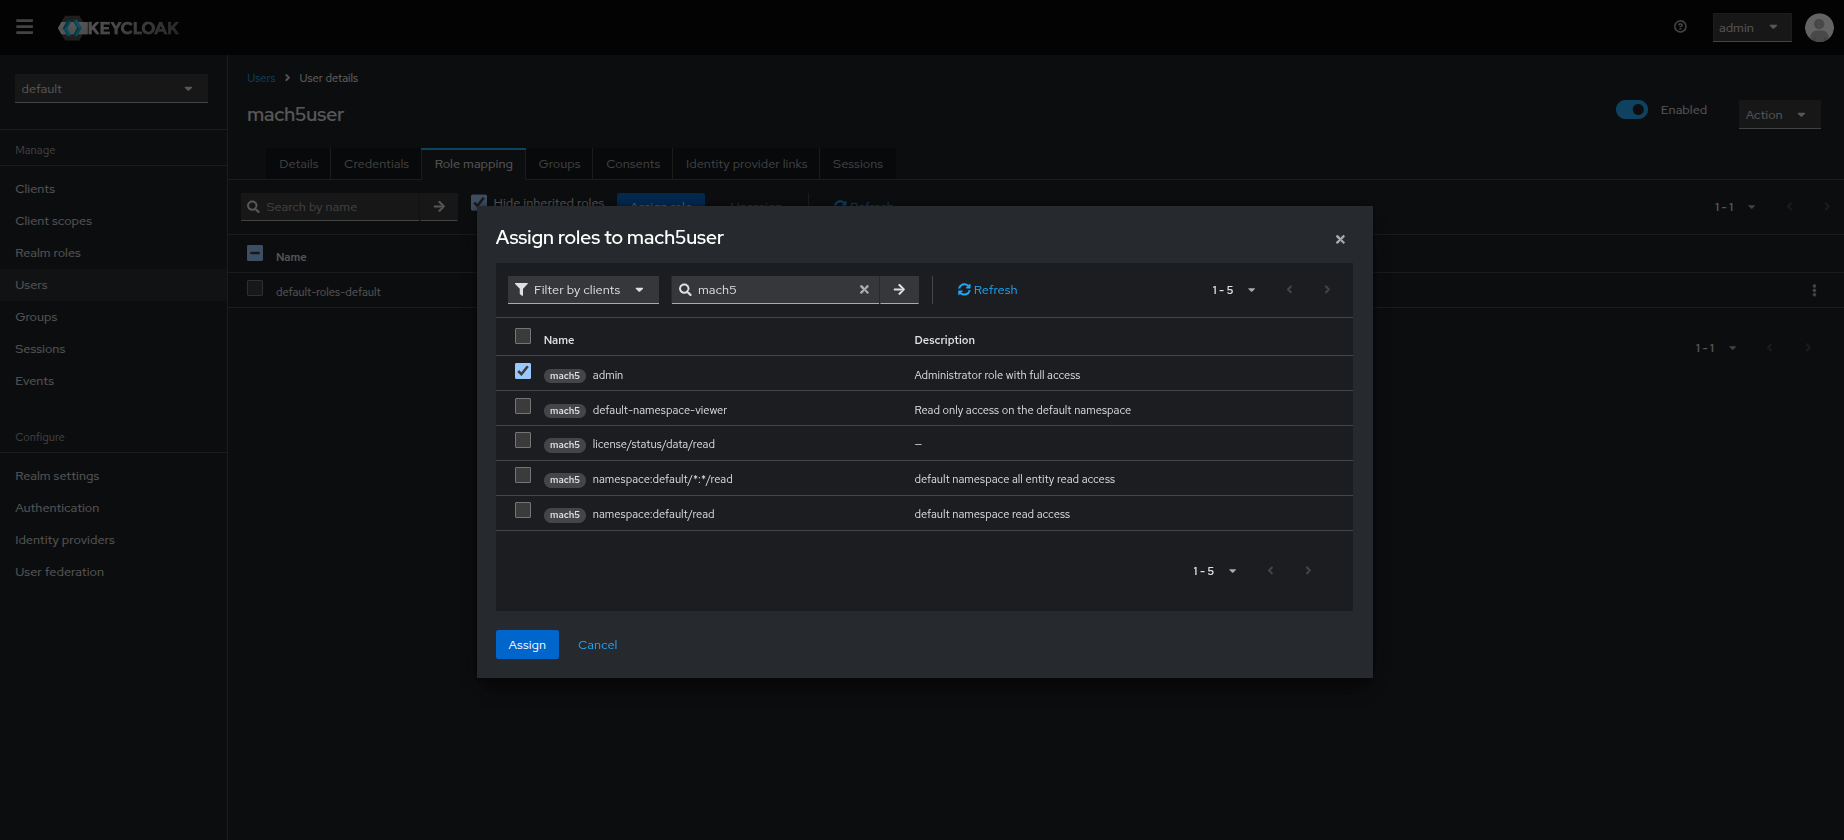
- Choose the Filter by clients filter from the drop-down and type in mach5 keyword. The list will now populate with Mach5 access permission roles.

- Select the role(s) you want the user to have access to. Full access can be granted to a user by assigning the admin role. Click on Assign. Refer to Role Patterns in Mach5 document for further help on creating roles in Mach5.
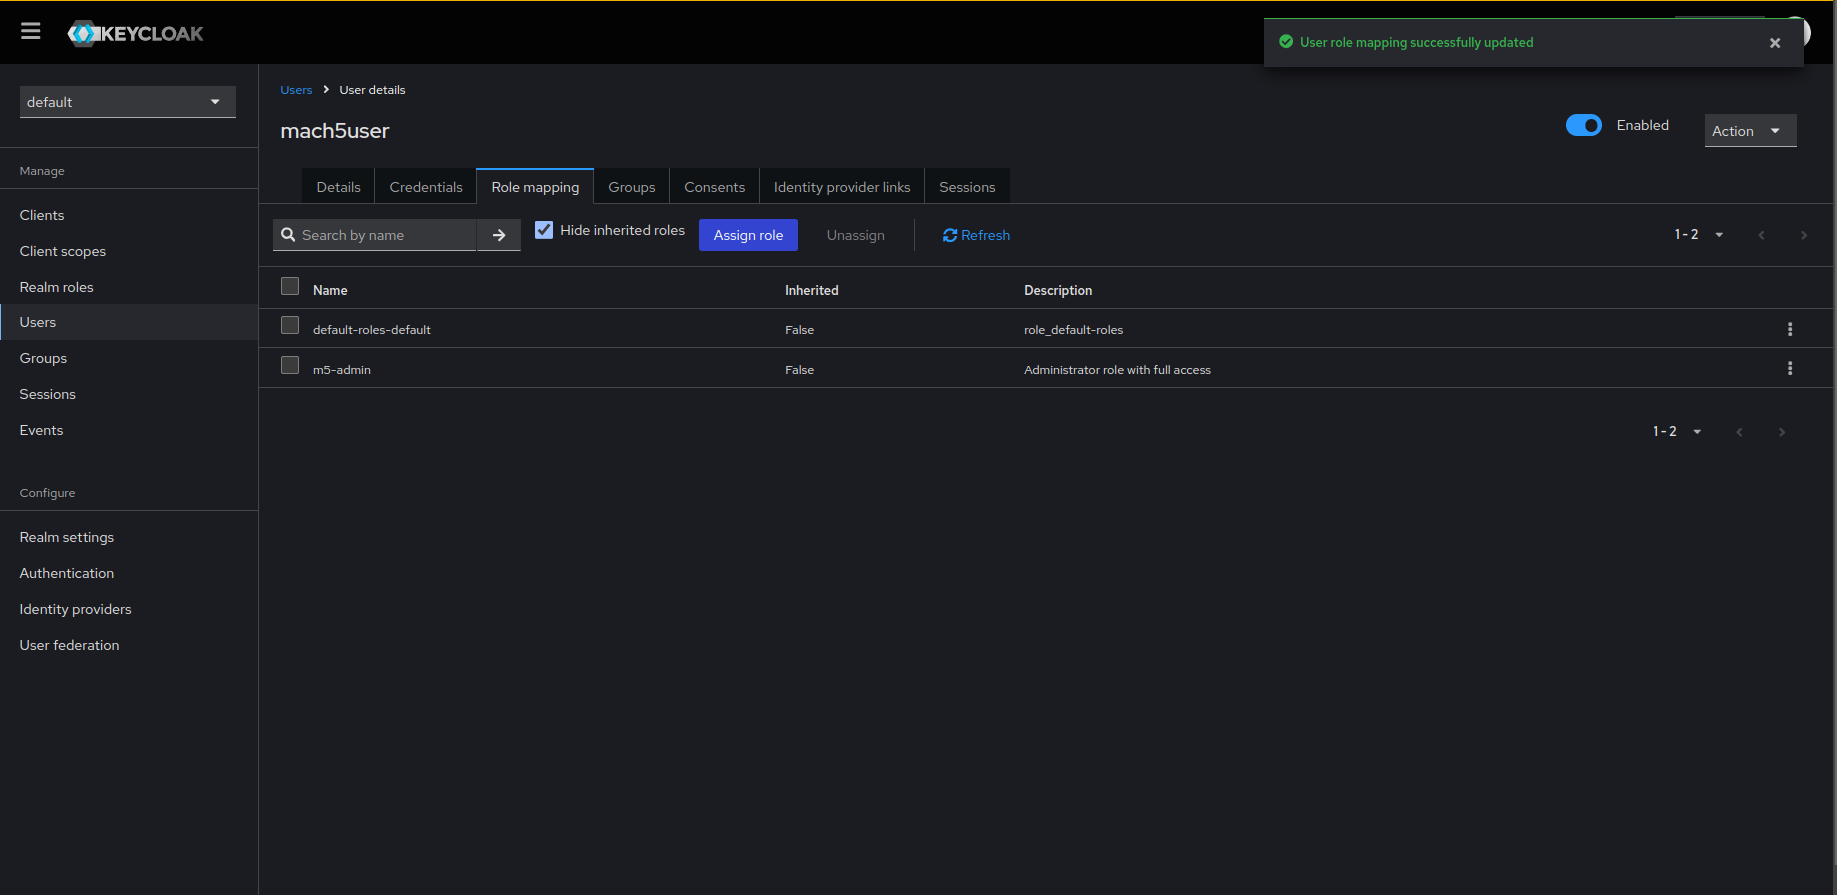
- User role mapping is updated for the user. You can view the list of permissions as shown below.
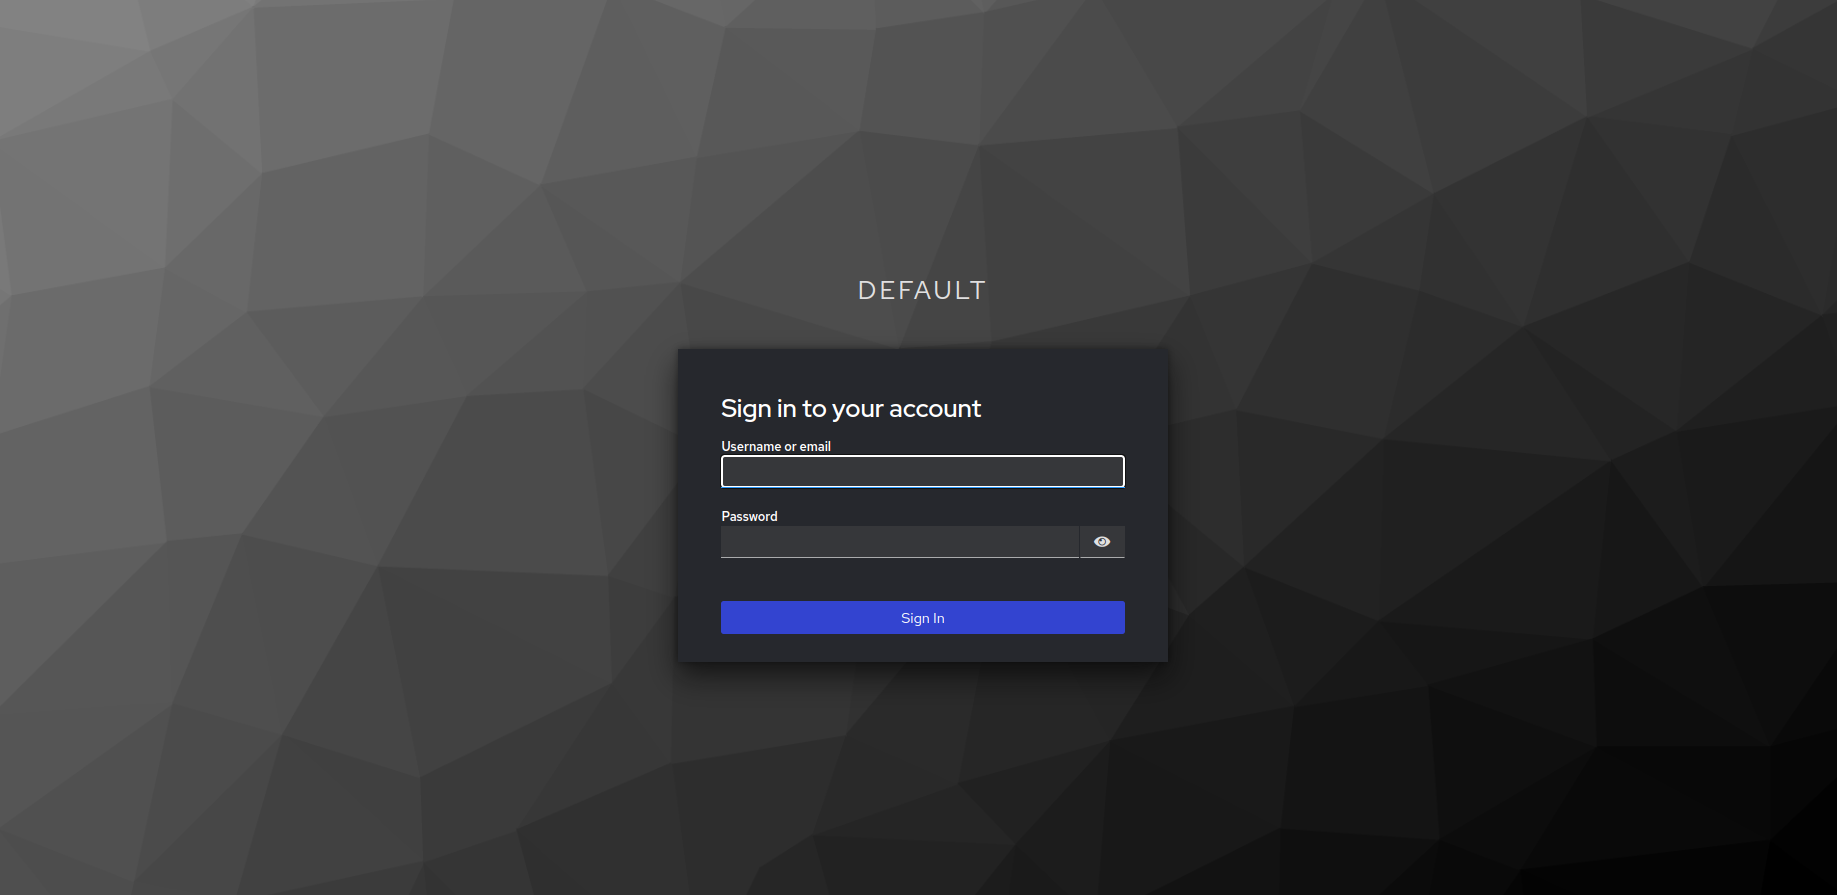
Log into Mach5
- To log into Mach5, navigate to
<MACH5_HOST>:<MACH5_PORT>/and this will redirect you to the default realm login portal.
- Enter the user credentials. Click on Sign in.
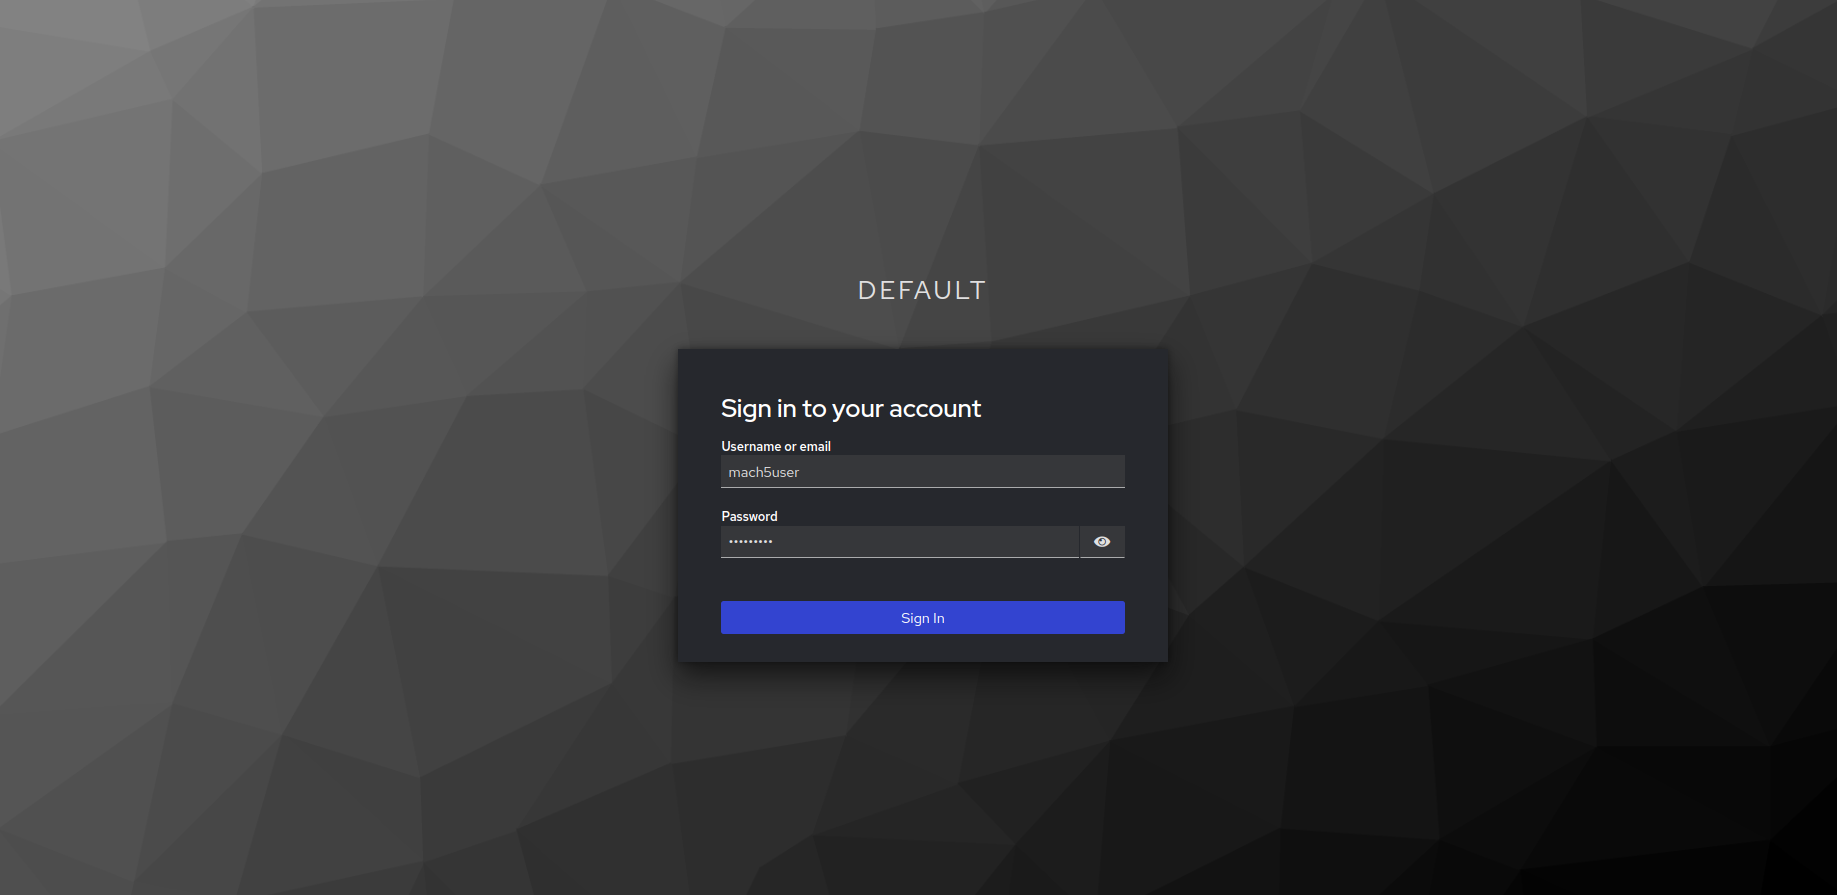
- On signing in successfully, you will now be able to access the Mach5 Data Explorer UI. Notice the username is shown as Mach5 User in the left pane.

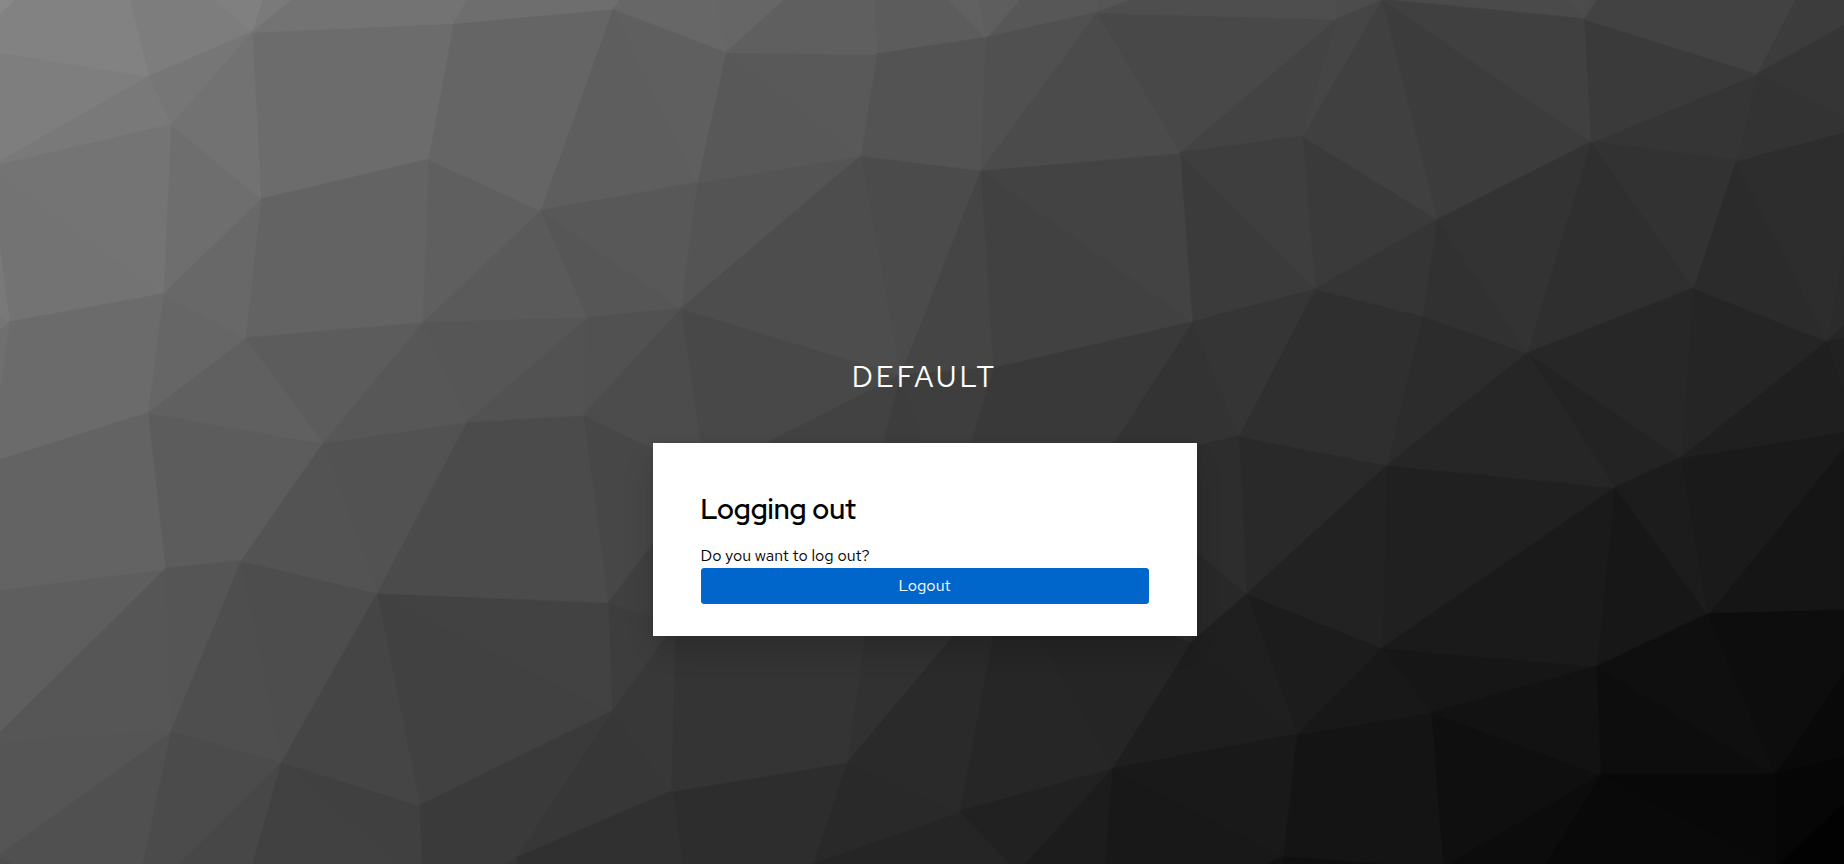
Logging out
- To log out, click on Logout on left pane. On the given pop-up, click on Logout button to log out from the role.
Access permissions
Refer to Keycloak Admin Guide in Mach5 document for further help on access permissions in Mach5
Current Limitations
- Use of Ingest Pipelines is currently not protected by AuthZ